The Samsung Galaxy S9’s infinity display is an edge-to-edge screen with a crisp and clear picture.Its QHD+ screen with 567 pixels per inch is a pretty picture perfect for snapping photos and recording videos. If your Samsung S9 screen is broken, don't panic. Here we offer a Samsung S9 screen replacement guide for you to repair by yourself. However, if your S9 is still under warranty, you could just resort to the customer service.

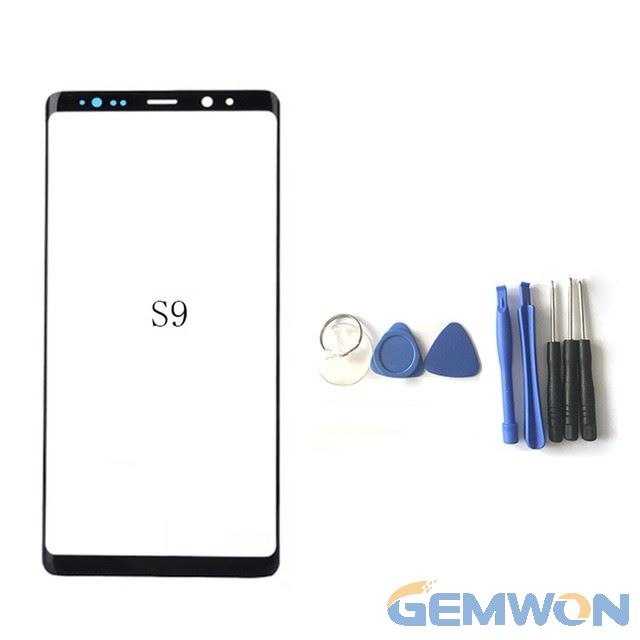
You will need special tools and steady hands to properly get the job done but even so, there's no guarantee that problems won't happen. But should you decide to give replace screen for Samsung s9, then you must read the Galaxy S9 teardown instructions so that you would be guided accordingly on which components you need to remove first and what not with Samsung S9 display replacement kit.
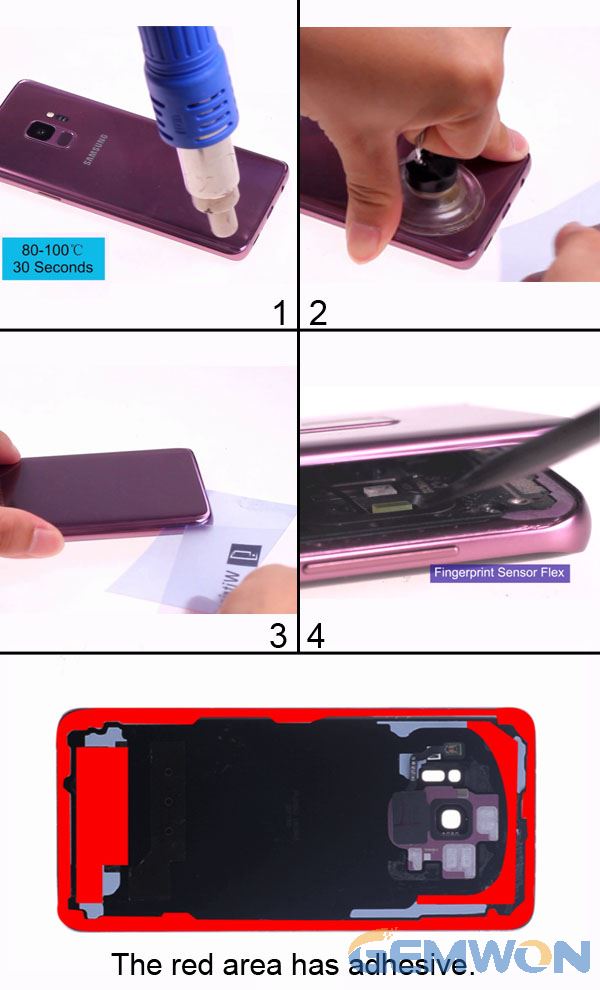
Step 1: Remove the Cover
Remove the cover isn't that easy as it looks. It’s risky and tedious. You will probably make a damage to the components under the cover. To remove the cover, you should heat the cover first. Then use suction to remove the cover, in the process of which you may slice the edge of the cover. Pay attention, do not hit that fingerprint sensor cable.
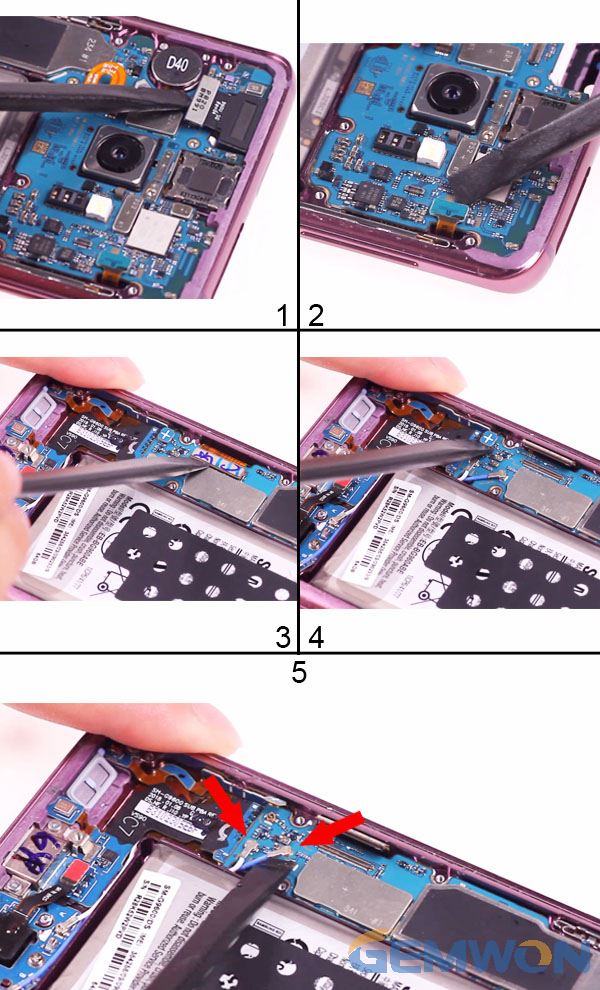
Step 2: Remove the Motherboard Bracket
Next we turn our attention to the brains of the phone, and after removing a few friendly "+" type screws, the motherboard slides free.
Then the next step is to remove the connected components. Firstly, remove the Phillips screes to unlock the motherboard slides.
Then near the top of the motherboard, you will see the heart rate and blood sensors. Be careful about these components.
Then remove the front camera and disconnect the flashlight flex, screen and USB port flex, and the two antenna cables.
You will see another screw that connect the motherboard and the front camera. Unscrew it. At the end,disconnect the charging board cable from the motherboard.
Step 3: Remove the USB Port Board and Battery
To remove the USB port, you should firstly unscrew the 5 PH#000 screws, which will disconnect the jack flex and the two antenna cables from the motherboard.
Then, lift the USB port board up using a spudger. Also, you need to heat up the screen of the battery area (100℃,30 seconds), which will make it more flexible before you lift up the battery from bottom of the battery flex cable.
Step 4: Remove other parts
Use the tweezers to cut out the adhesive under the contacts of the vibrator and remove it. Use the tweezers to lift the earpiece from the bottom. Rip the metal paper on the flashlight and use tweezers to lift up the metal bracket, then use the spudger to remove the flashlight.
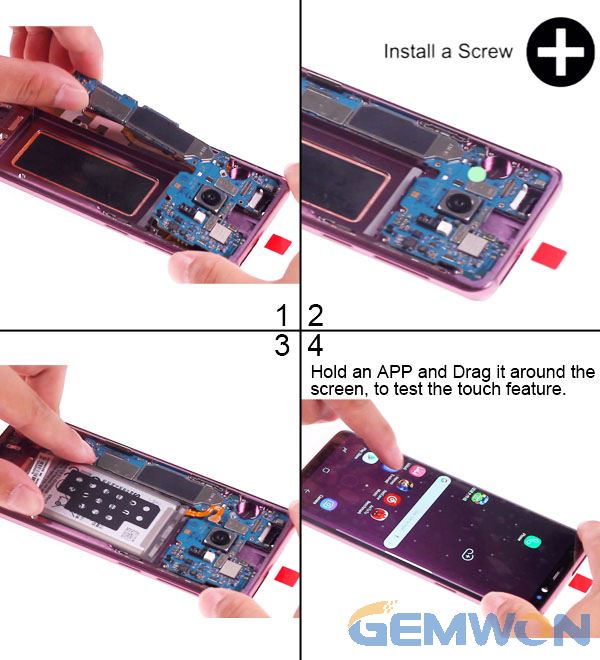
Step 5: Test the new Screen
Install the motherboard and battery on the new screen with frame. Power on the phone then hold an APP and drag it around the screen to test the touch feature.
After the test, power off the phone then disconnects the battery flex first.
Step 6: Reinstall the phone
Follow the disassembly steps, reinstall all parts on the original screen with frame.Install two universal adhesives to the bottom of the battery to bond the battery.
Conclusion:
This instruction of Samsung S9 Screen repair is mainly for screen without frame. If you buy a S9 screen with a frame to replace, the steps will be easier for DIY. After purchasing the original Samsung s9 screen, you can refer to the steps in this article to replace it yourself, which can save you a lot of screen repair costs. The best part is you don't have to go out and find the repair shop yourself.
Related Articles:
How to Repair Laptop LCD Screen
Steps for How to Choose a Laptop Screen
Lines on Mac Screen? Easy Ways to Fix it

