Does your MacBook need a bit more speed? Or are you trying to extend its life? Upgrade your MacBook with SSD is surprisingly affordable and results in 5X better performance. It’s also surprisingly easy, even if you don’t know your way around the insides of a Mac.Here we provide a guide to make MacBook SSD upgrade easy.


Why do I need to upgrade MacBook with SSD hard drive?
If you only really use your MacBook to browse the web and do some word processing,your current hard drive is probably fine. If, however, you’re noticing any of the following issues, an SSD upgrade for MacBook (pro) will most certainly help:
1)Slow startup
2)Sluggish performance in resource-intensive apps such as Adobe Photoshop
3)System crashes
4)Permission denied errors to files that were previously fine
Upgrading MacBook with SSD vs. HDD? SSDs have no moving parts, making them much more rugged and less likely to be damaged if dropped - very useful for
laptops - and they have incredible read and write speeds that make your MacBook significantly faster than a tradition hard drive. Some SSDs can operate at
above 550MB/sec at both reading and writing, whereas you’re unlikely to be able to reach speeds above 200MB/sec with even the best Hard Drives. Using SSD
upgrade your MacBook Pro is a quick and simple way to boost performance but an upgrade might not always be needed.
Prepare Your SSD
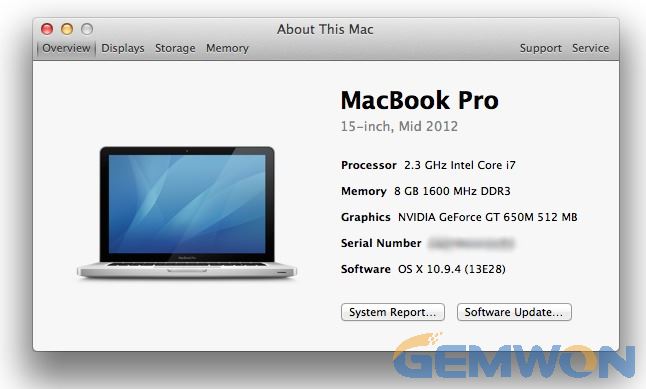
Before doing anything, you need to be sure exactly what model MacBook you have. Just calling it a MacBook Pro isn’t enough; for example, I’ve got MacBook Pro(Retina, 15-inch, Mid 2015). To find out what you have, click the Apple logo in the top left corner of the menu bar and sekect the "About This Mac" option. On the Overview tab you’ll see your MacBook's exact model.
Then you have to decide which SSD drive for MacBook you want. While all SSDs from the big brands (like Crucial, Corsair, Intel etc.) are likely to be a great step up from your preinstalled Hard Drive, there are some factors to take into consideration. It’s also worth checking out reviews of SSD that you may consider buying, because there could be noted firmware issues with that model for example.
Format the SSD
To perform a MacBook Pro SSD upgrade you’re first going to need to clone your existing hard drive so that the new one runs like clockwork when it’s installed. Before you do this, you should use CleanMyMac X to perform a Smart Cleanup. This will clear your system of any junk files so that they’re not transferred over unnecessarily. Cloning the hard drive can be done with a tool such as SuperDuper! or Carbon Copy Cleaner,or with Apple’s own Disk Utility program.
Here’s how to do it with the latter:
1)Connect the SSD to your Mac using the SATA-to-USB cable.
2)Go to Applications > Utilities and open the Disk Utility.
3)Click on the SSD icon, followed by the Partition tab and select "Partition1" from the Partition Layout.
4)Click on Options and select GUID Partition Table in the next window.
5)Click on the First Aid tab, followed by Verify Disk Permissions.
6)Click Verify Disk, followed by Repair Disk.
7)Shutdown your MacBook and restart it, holding the Option key as you do. Choose the option to boot to Recovery Disk.
8)Click on Reinstall Mac OS X and choose the SSD as the destination.
9)Copy your files over from the installed hard drive to the SSD. When asked to restore files from another disk, choose the currently installed hard drive.
Remove the hard drive
1)Make sure your MacBook is shut down.
2)Locate and remove the 10 screws using the Phillips screwdriver. Put the screws in a small bowl so that you don’t lose any.
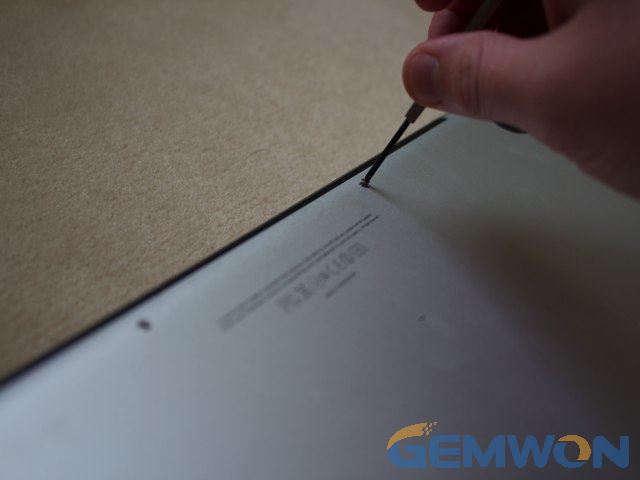
3)Remove the cover and touch a metal part to release the static electricity.
4)Locate the hard drive and remove the plastic bracket securing it. This is held in place with two screws.
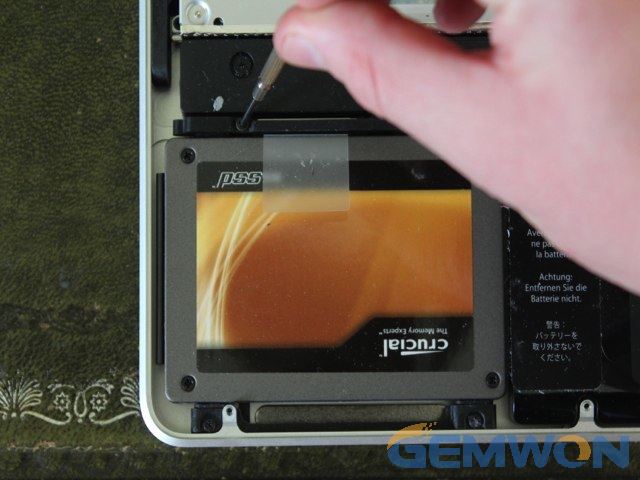
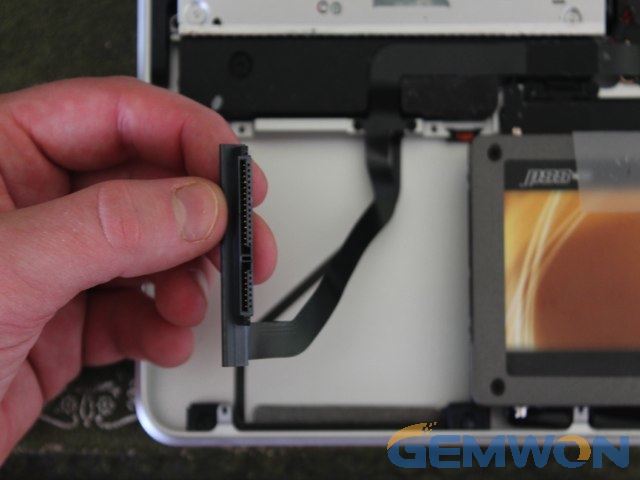
5)Gently remove the hard drive and disconnect the SATA ribbon. Do this by wiggling the connector. Don’t yank on the ribbon.
6)Remove the four Torx screws attached to the hard drive and screw the posts into the SSD.
Fit the SSD
1)Carefully attach the SATA ribbon to the SSD and lower it in place.
2)Fix the holding bracket back in place.
3)Replace the MacBook cover and screw in the ten tiny screws.
4)Switch on your MacBook Pro, go to System Preferences > Startup Disk and make sure the SSD is selected.
5)Restart your computer.
Conclusion
Once you have Mountain Lion up and running, you are now ready to start using your new speedy Mac.Having upgraded your Mac to an SSD, you should notice a significant boost in performance, most notably boot up times (which some have reported to be as low as 10 seconds with an SSD), and application load times.
Related Articles:
How to Fix MacBook Black Screen
How to Fix MacBook Won’t Turn on
How to Fix MacBook White Screen of Death

